
Appearance
Layers and visualizations
A scene is what's on screen: a stack of up to six layers, each showing one visualization, plus the overall look on top. You build scenes in the Scene tab.
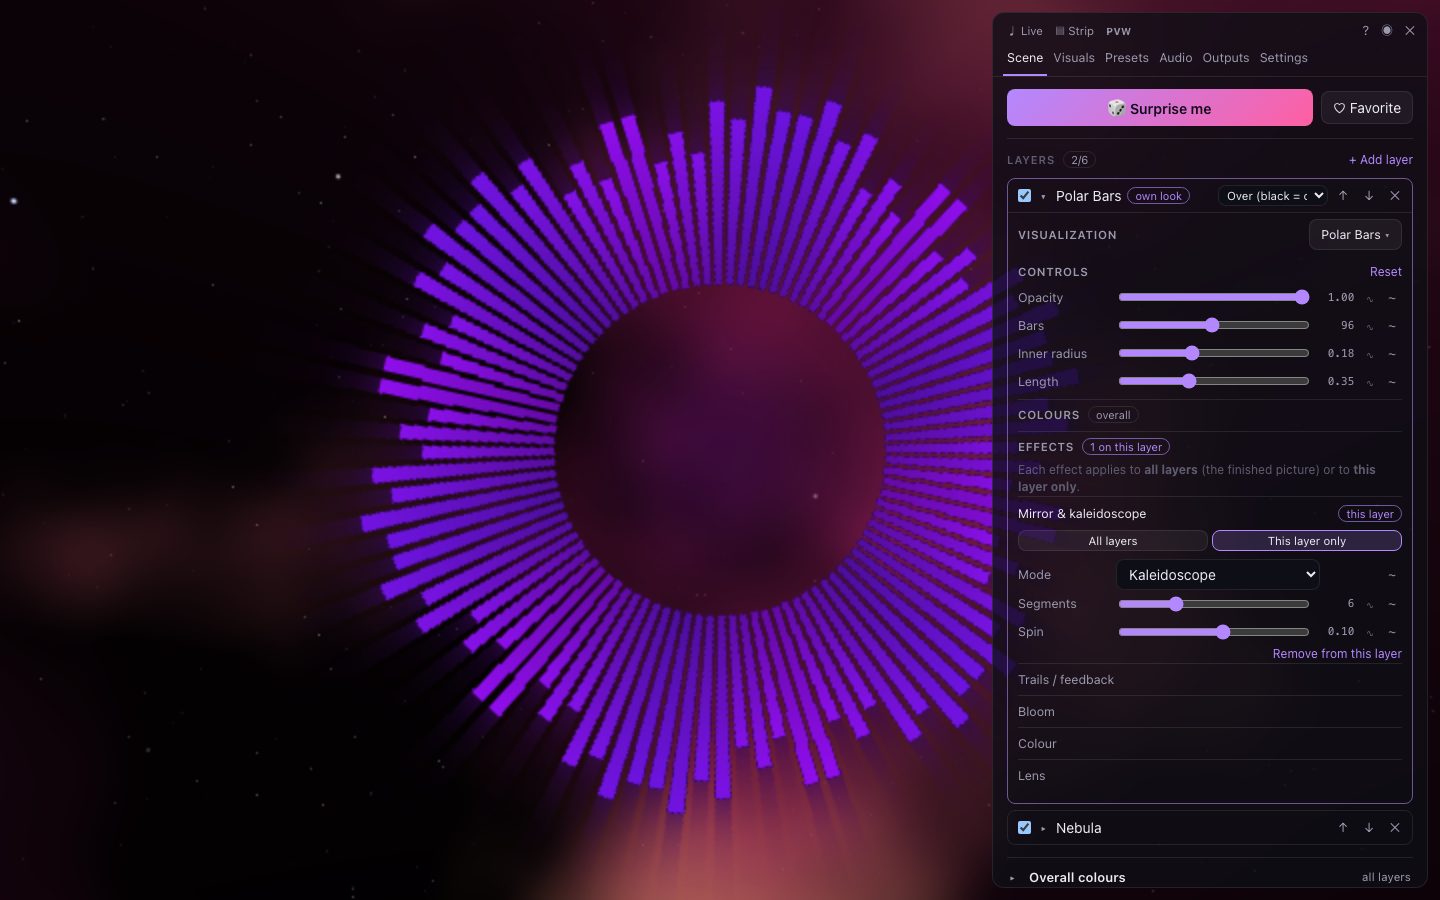
Layers
Under Layers, each layer is a collapsible section, with the top layer first. Click a layer's name to open it (it becomes the selected layer); click again to fold it.
In each layer's header:
| Control | What it does |
|---|---|
| Checkbox | Switch the layer on or off without removing it. |
| Name | Open or fold the layer. An own look badge means it has its own colours or effects. |
| Blend menu | How the layer combines with the layers below it (not shown on the bottom layer). |
| Move the layer up or down the stack. | |
| Remove the layer. |
+ Add layer opens a picker; choose a visualization and it's added on top. New layers start half-transparent with the Add blend (some visualizations, like Crowd, choose their own blend).
Blend modes
| Mode | Use it for |
|---|---|
| Normal | Covering what's below (use opacity to mix). |
| Add | Light on light: lasers, particles and glows. |
| Screen | Like Add but gentler. |
| Multiply | Darkening: silhouettes, shadows. |
| Overlay | Extra contrast. |
| Difference | Psychedelic inversions where layers overlap. |
| Lighten / Darken | Keep the brighter or darker of the two. |
| Over (black = clear) | Shapes drawn on black keep their own colours on top of the layer below. |
See Palettes and blend modes for more detail.
Choosing a visualization
Open a layer and its Visualization list is shown (click the name button to fold it away):
- All / Full-screen / Shapes & particles filters the list. Full-screen visualizations fill the picture (tunnels, fractals, space scenes). Shapes & particles are drawn on black and made for layering over something else.
- Search finds visualizations by name, description or style.
- If the MilkDrop pack is on (see Managing visualizations), its presets appear when you search, or with Show … MilkDrop presets.
Click one to put it on the layer. ] and [ step the selected layer through the list, and \ picks a random one. More keys for the selected layer: , / . select the layer below / above (with ⇧, move it), ; / ' fade it out / in, L switches it off and on, N adds a layer and Backspace removes the selected one (undo brings it back).
Over 70 come built in — see the full visualization reference, with every control explained. Hidden visualizations (in the Visuals tab) don't appear here.
Controls
Under Controls, each layer has:
- Opacity (when there's more than one layer).
- The visualization's own settings — speed, size, colour mode and so on. Sliders, switches or menus, depending on the setting.
- Reset returns them to their defaults.
Next to every slider:
| Button | What it does |
|---|---|
| Oscillate: swing the value back and forth around where you set it, in time with the beat. | |
| Modulate: drive the value from the music, an LFO, the melody or a MIDI knob. | |
| M | MIDI learn (when MIDI is on): move a knob to map it. |
See Modulation.
Some controls are marked quality in the reference (detail, step counts): they trade detail for speed, and are lowered automatically on slower computers.
The layer's look
Each layer also has Colours and Effects. By default a layer uses the overall palette and effects; you can give it its own instead — say, a kaleidoscope on just the lasers, or a different palette for the background. See Colours and effects.
Ideas for combinations
- A full-screen background with a shapes layer on top using Over: Nebula + Spectrum Bars, Plasma Flow + Beat Rings.
- Lasers with Add: Laser Show + Edge Lasers, then the Crowd layer on top (it uses Multiply).
- Haze over Laser Haze or Laser Cone, for beams cutting through smoke.
- A melody visualization (Melody Ribbon, Chroma Wheel) over a calm background.